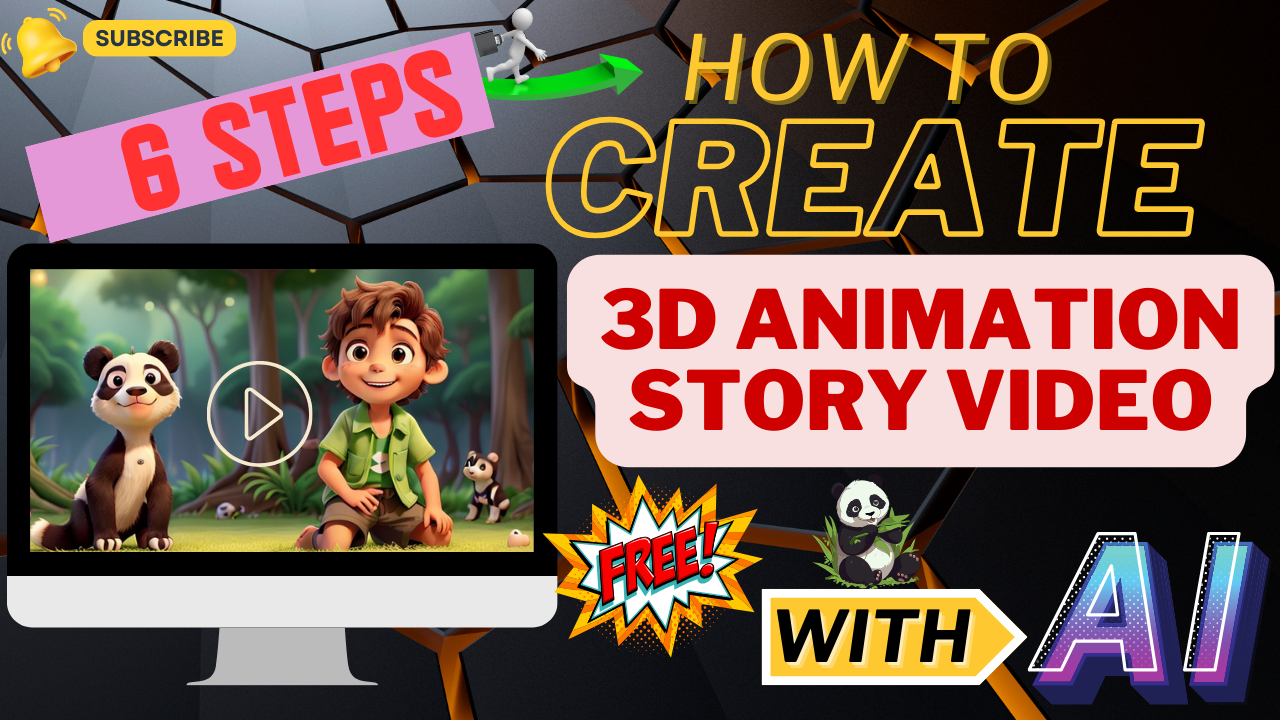
Want to create stunning 3D animation story videos for free? This step-by-step guide shows you how to use powerful AI tools like ChatGPT, Leonardo AI, and more to make captivating animations.
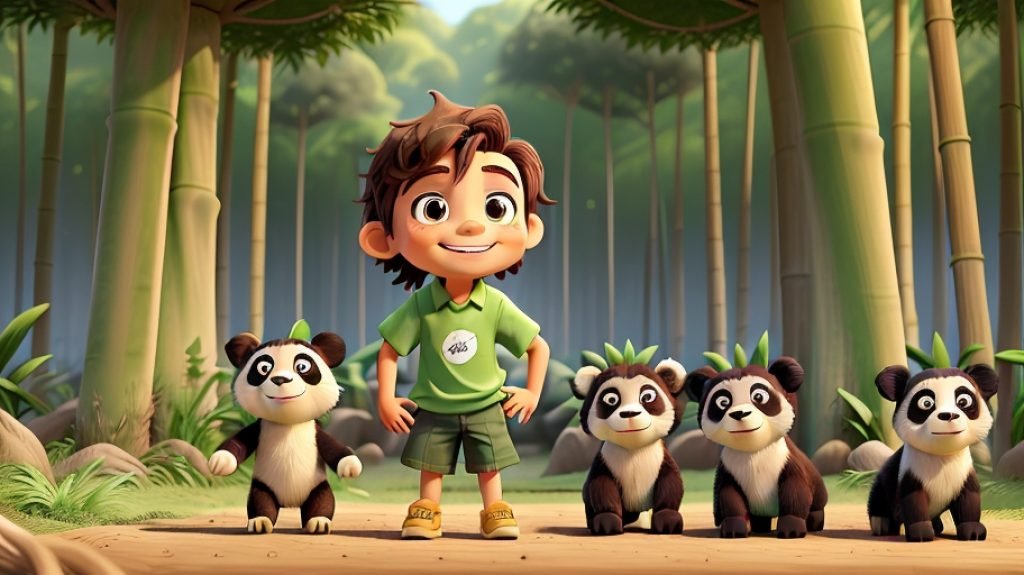
Table of Contents
3D Animation Made Simple: Transform Your Ideas into Stories
Imagine creating a professional 3D animation story video—something that looks like it belongs in a Pixar short or a popular YouTube channel—without spending any money or needing advanced skills. Sounds impossible? Not anymore!
Thanks to free AI tools, you can now bring your ideas to life effortlessly. Whether you’re a beginner or a seasoned content creator, this step-by-step guide will show you exactly how to create a polished, animated masterpiece.
From writing your story to syncing voiceovers and animating scenes, you’ll learn everything you need to know. So grab your creativity, and let’s dive into the process!
Let’s dive into 6 simple steps to create a professional 3D animated story video that captivates your audience.
Step 1: Craft a Compelling Story with ChatGPT
Every great animation starts with a powerful story. It’s what hooks your audience and keeps them coming back for more. With ChatGPT, crafting a narrative is as easy as having a conversation.
How to Use ChatGPT for Your Story:
- Open ChatGPT: Head to ChatGPT and create an account if you don’t have one.
- Write a Prompt: Think about the kind of story you want to tell. Here’s an example:“Write a short story about a young boy named Leo who discovers a lost panda in a magical bamboo forest. Divide the story into scenes, each lasting 4 seconds, with clear visual prompts for creating AI-generated images.”
- Review the Output: ChatGPT will generate your story along with visual descriptions for each scene. For instance, one scene might describe a boy sitting under a glowing bamboo tree, sketching the panda.
- Tweak as Needed: You can refine the story or ask ChatGPT to expand certain parts. Save the final script and prompts in a document for the next steps.
Why ChatGPT Works:
- It simplifies story creation by turning your ideas into structured narratives.
- It generates detailed scene prompts for visuals, saving you hours of brainstorming.
Pro Tip: Be descriptive. If your main character is a 10-year-old boy with messy hair, mention it. The clearer your input, the better the results!
Step 2: Add Realistic Voiceovers with Eleven Labs
Now that you have a story, it’s time to give it a voice. A good voiceover can transform your animation, making it feel alive and immersive. That’s where Eleven Labs comes in.
What Makes Eleven Labs Perfect?
This AI-powered tool uses advanced voice synthesis to create natural-sounding narrations. You can choose from various tones and styles to match your story’s vibe.
Steps to Create Voiceovers with Eleven Labs:
- Sign Up: Visit Eleven Labs and create a free account.
- Choose a Voice:
- Free plan: Offers several voice options, perfect for starting out.
- Paid plan: Unlocks custom voice creation if you want something truly unique.
- Paste Your Script: Input one scene at a time to ensure smooth narration. For example, the first scene might describe Leo’s surprise when he meets the panda.
- Preview and Adjust: Listen to the generated voiceover. If needed, tweak the speed or tone for clarity.
- Download the File: Save the audio for later use in your animation.
Pro Tip:
Break long text into shorter sentences to make the narration sound more conversational. This keeps your audience engaged.
Link: Start with Eleven Labs for free here.
If you would like to watch the video for better understanding and practise, you can find the YouTube link below.
Step 3: Generate Breathtaking 3D Images with Leonardo AI
Your story needs visuals that pop, and Leonardo AI delivers just that. With its 3D animation styles, you can create scenes that look straight out of a movie.
How to Create Visuals with Leonardo AI:
- Sign Up: Go to Leonardo AI and create a free account. You’ll get 150 credits to start.
- Set Up Your Project: Choose “Legacy Mode” to save credits while maintaining quality.
- Input Scene Prompts: Use the descriptions generated by ChatGPT. For example:“A cheerful boy with messy brown hair, sitting on a rock with a sketchbook, surrounded by a glowing bamboo forest.”
- Customize Settings:
- Style: Choose “3D animation” for a Disney-like feel.
- Resolution: Opt for at least 1080p for crisp visuals.
- Aspect Ratio: Use 16:9 for video compatibility.
- Generate Images: Leonardo AI will create your scene. Refine it if needed. Repeat for all story scenes.
Why Use Leonardo AI?
- It creates visually consistent characters and scenes.
- Its tools allow you to adjust details like lighting and colors for a perfect finish.
Link: Create stunning images with Leonardo AI here.
Step 4: Animate Your Scenes with RunwayML
Now that you have images, it’s time to bring them to life. RunwayML turns static visuals into animated videos effortlessly.
How to Animate with RunwayML:
- Log In: Visit RunwayML and sign up for a free account.
- Upload Your Images: Drag and drop the 3D images you created with Leonardo AI.
- Set Animation Parameters:
- Frame duration: Set to 3–5 seconds for a smooth flow.
- Video prompts: Use descriptions like “A boy walking through a glowing bamboo forest.”
- Generate Videos: RunwayML will create seamless animations for each scene.
- Download: Save the videos to your device for editing.
Link: Start animating for free here.
Step 5: Sync Lip Movements with Canva’s Lalamu Studio
Want to make your characters talk? Canva’s Lalamu Studio syncs mouth movements to your voiceover, adding a professional touch to your video.
Steps to Add Talking Animations:
- Open Canva: Choose the video format you need (e.g., 1920×1080 for YouTube).
- Upload Files: Add the animated scenes and voiceover files.
- Generate Lip Sync: Use Lalamu Studio to match lip movements with the narration.
- Finalize Edits: Adjust scene durations and transitions for a polished look.
Affiliate Link: Try Canva Pro features here.
Step 6: Finalize Your Masterpiece in CapCut
Finally, it’s time to bring everything together. Use CapCut to edit your scenes, voiceovers, and music into a cohesive story.
How to Use CapCut:
- Create a Project: Open CapCut and start a new video.
- Upload Assets: Add your animated scenes and voiceovers.
- Add Music: Choose a background track that enhances your story. Adjust the volume for balance.
- Polish and Export: Use effects, filters, and transitions to refine your video. Export in high quality.
Affiliate Link: Edit like a pro with CapCut here.
Your Turn to Shine
You now have all the tools and steps to create a 3D animation story video that wows your audience. Whether you’re showcasing a magical adventure or a personal tale, these free AI tools make the process accessible to everyone.
Ready to get started? Try these tools today, and let your creativity flow! Don’t forget to share your finished projects in the comments—we’d love to see what you create.
If you found this guide helpful, hit like, Comment, and explore more tutorials on Online Wealth Pathway. Let’s create something amazing together!


