Table of Contents
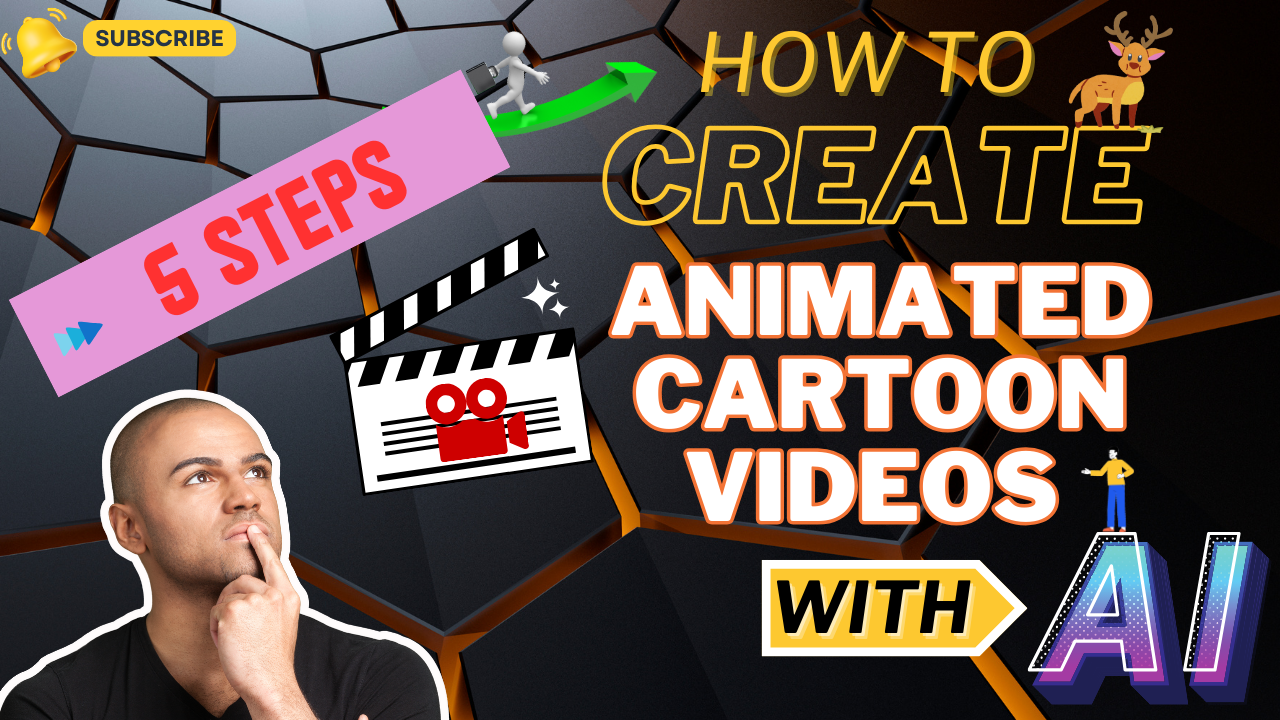
Have you ever wondered how to create an animated cartoon video using just AI? Imagine creating fun, engaging cartoons without needing traditional animation skills! In this post, we’ll dive into a simple, step-by-step guide to help you create an animated cartoon video with AI. So whether you’re aiming to entertain kids or grow your online presence, this process will get you producing impressive cartoon content in no time.
Step 1: Create the Story
Every great cartoon video starts with a story. If you’re new to scriptwriting or want to make something for kids, Gravity Write is a fantastic AI tool that will help bring your vision to life with ease.
- Access Gravity Write: Start by opening Gravity Write. This AI-powered tool specializes in kid-friendly scripts, which is perfect for creators targeting a young audience or educational content.
- Select Writing Assistant: Use the “Kids Video Script Generator” to streamline your storytelling.
- Story Customization Options:
- Topic and Theme: Pick a theme that resonates with kids, like friendship, adventure, or kindness. These themes add depth and engage young viewers.
- Age Group and Character Details: Setting the age range is crucial; kids’ content is best tailored to specific age groups. Add character names for familiarity, and let Gravity Write suggest options if you need inspiration.
- Adjust Video Length: Decide on the video’s length. Shorter videos (3-5 minutes) work well for kids’ attention spans, while longer content (8-10 minutes) might be better for storytelling depth.
Once Gravity Write generates your script, copy it to a document for easy reference. Your story is now set, and you’re ready for the next step. Remember, a captivating story is the backbone of a memorable cartoon.
Step 2: Generate Voiceovers
With your script ready, it’s time to bring your characters to life with unique voices. Adding distinct voices can make each character memorable, helping viewers connect with the story. For voiceovers, we’ll use 11 Labs.
- Login to 11 Labs: Generate character voices with ElevenLabs. Their AI voice generator offers a variety of voices you can tailor to each character.
- Copy Dialogues and Select Voices:
- Copy Bunny’s dialogue from your script, paste it into 11 Labs, and choose a narrator voice. For example, “Kade” might make Bunny sound warm and friendly.
- Download each line as an audio file, naming it by character and scene to stay organized. This tip will save you time when editing!
- Repeat for All Characters: If you have multiple characters, like Bunny and Tom, select unique voices for each. This makes the dialogue engaging and adds personality.
Organizing your voiceover files will be a lifesaver when assembling the video. Think of it as building an audio library for your story—each file is a piece of the puzzle.
Step 3: Create Cartoon Characters
Now it’s time to create your cartoon characters, and with Adobe Express, you won’t need advanced animation skills! This tool allows you to animate your characters with AI, making it a breeze for beginners and seasoned creators alike.
- Access Adobe Express: Create characters with Adobe Express.
- Animate Character Selection:
- Choose a cartoon character that suits your story. For instance, if your main character is a bunny, find a rabbit image that you can customize.
- Set up the background to green. This makes it easy to remove the background later and place the character in any setting.
- Add Voiceover and Download:
- With the “Higher Quality Audio” option, upload Bunny’s voiceover file to sync it with the animation.
- Download the animation and repeat for each line of dialogue for Bunny and then for Tom.
Adobe Express’s intuitive platform allows you to create multiple versions, giving you flexibility in how your characters look and move. A quick tip: Organize these files in a folder to simplify the editing process.
Step 4: Design the Background
Let’s make your cartoon world come alive with vibrant backgrounds, and Canva is perfect for this step. Using animated backgrounds can add a lot of visual interest and keep viewers engaged, especially younger audiences.
- Create a Background: Design animated backgrounds with Canva.
- Background Elements and Animation:
- Start by choosing the video format. For YouTube, a 1920×1080 px layout is standard.
- Use Canva’s “Elements” tool to search for visuals that suit your theme. For instance, a garden scene or a playground can add depth to kids’ stories.
- Add animations for dynamic effects, like trees swaying or butterflies fluttering. Mixing animated and static elements can make your scene feel vibrant without overwhelming the viewer.
- Download and Organize: Download each background as a separate file to match each scene in your script.
Canva’s range of animated elements is vast, and with some creativity, you can create backgrounds that look professional without complex software. With each background saved, it’s time for the final step!
Step 5: Edit and Finalize the Video
For the finishing touches, CapCut or Clipchamp are great options. These editors are user-friendly and let you bring everything together seamlessly.
- Upload Files and Edit: Edit videos with CapCut. Import your animated characters, backgrounds, and voiceovers. Start by aligning each character with the relevant background.
- Remove Green Backgrounds:
- Use the “Chroma Key” option to make green screens transparent, blending characters naturally into scenes.
- Adjust positions if needed, flipping characters horizontally if they’re not aligned with the background.
- Add Reaction Clips:
- For scenes where characters listen rather than speak, use a silent audio file for background movements like blinking or small gestures. You can find a blank audio file linked in the description.
- Arrange all dialogue clips in order, add sound effects (e.g., birds chirping for outdoor scenes), and enable auto-captioning for subtitles.
Finally, export your video in high quality, ready to share with the world!
Now that you know how to create an animated cartoon video with AI, it’s time to try it yourself. This 5-step process is easy, and with practice, you’ll get faster and more creative. So start animating, and share your creations with the world!
Thanks for joining me today on Online Wealth Pathway. I hope this guide has shown you how AI can simplify animation. If you have any questions or want more tutorials like this, drop a comment below. Happy creating!


